
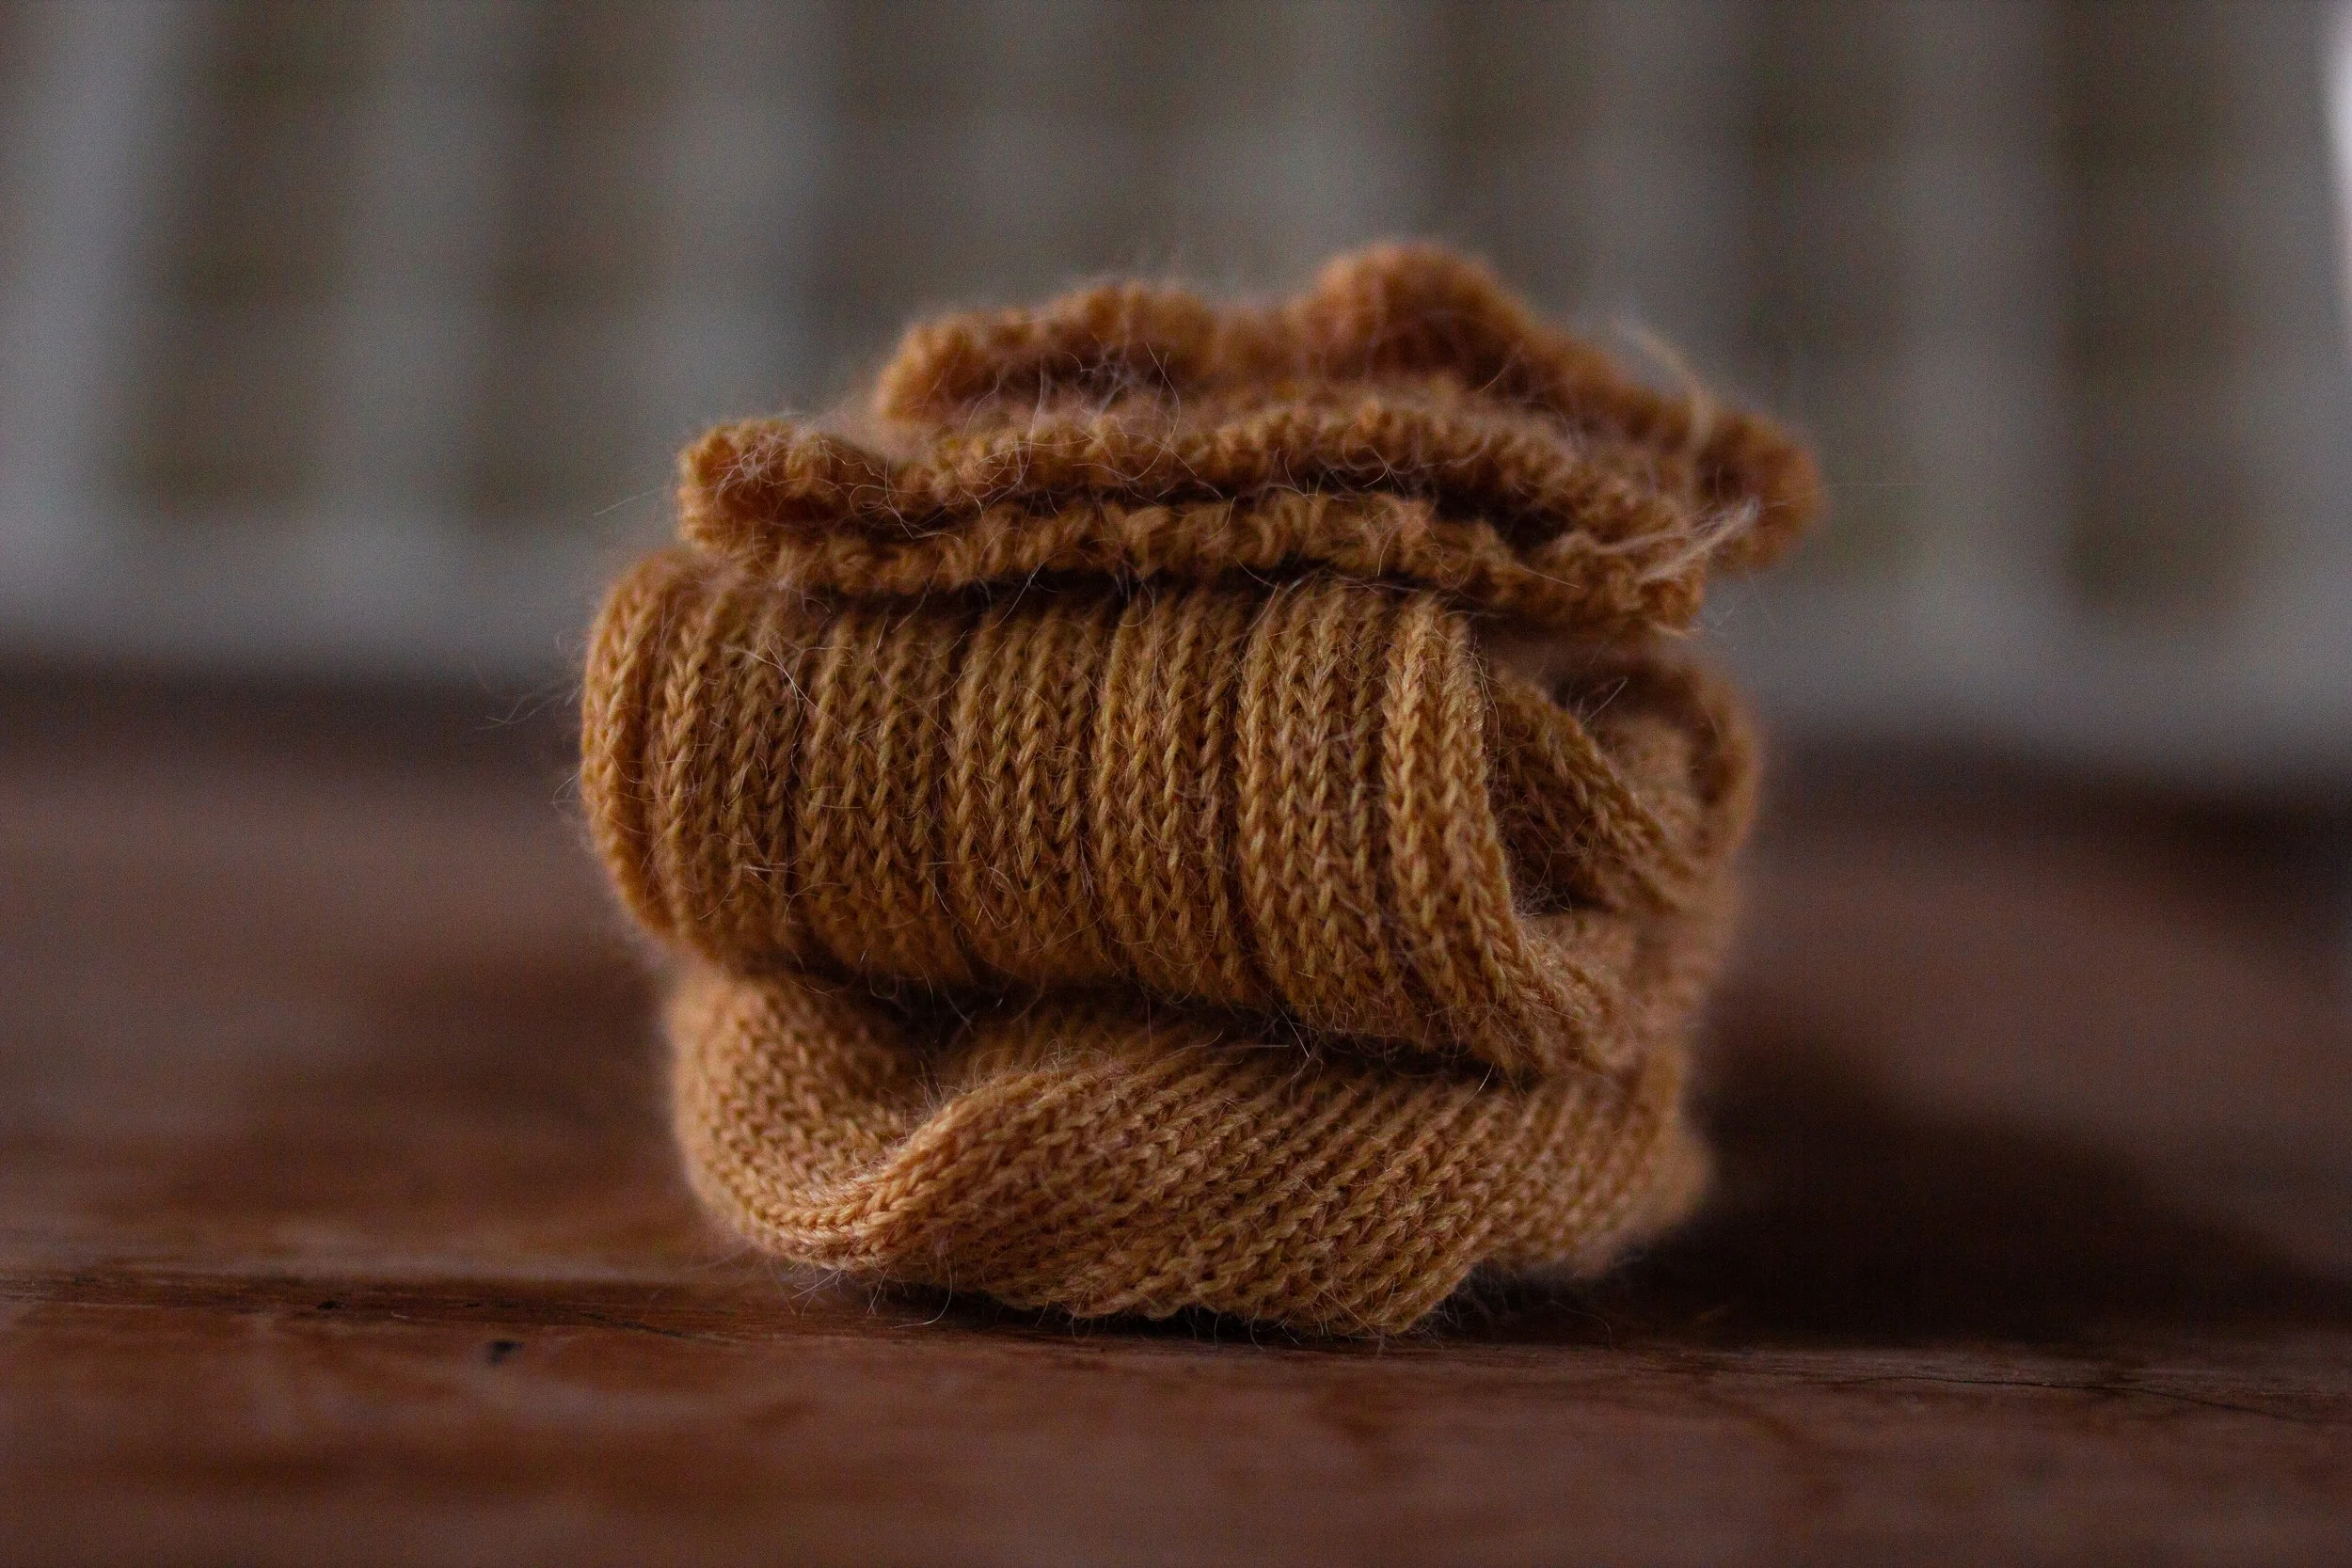
Onion Dyed Socks
I first had a go at creating colour from plants about a decade ago - it was at a workshop in Wales and was led by historic dyer Debbie Bamford (The Mulberry Dyer). The process involved, along with the leaves and flowers, a lot of stale urine, ash and dung! We did the dyeing in an open sided oak barn with plenty of ventilation - rinsing our ribbons and scraps of wool extremely well.
Perhaps because of the daunting raw materials, it took me a number of years to get out the pans in my studio and have another go. When I did, I decided to forgo historical accuracy, and the urine, and work my way up from basics.
Onion skins were the first dye stuff I tried, and they are still the one I suggest beginners start with. The ingredients are easy to source, you don’t need a mordant* and, as everything you are using is food safe, you don’t need to invest in a whole new set of pans.
You will however need a lot of onion skins - the papery bit on the outside - as many as you can lay your hands on and at least 100g per pair of socks. If you don’t eat that many onions, ask your friendly greengrocer who may let you have the bits that fall off in the onion bin.
The onions give a beautiful golden, orangey yellow colour to the socks.
*a mordant is a chemical applied to a textile which acts as a bridge between the dye pigment and the textile fibre. Tannins are a natural mordant and when a dye plant contains tannins you do not need to use a mordant, though many dyers still choose to for a deeper colour. For wool socks the most common mordant is alum, which can be bought from specialist dye supply shops - you need 8- 10g alum for a pair of socks.
HOW TO DYE WOOL SOCKS WITH ONIONS
You will need:
200g onion skins
1 pair of wool socks
1 large aluminium or stainless steel pan (not iron)
Water
Stove
Wooden spoon
Colander
METHOD
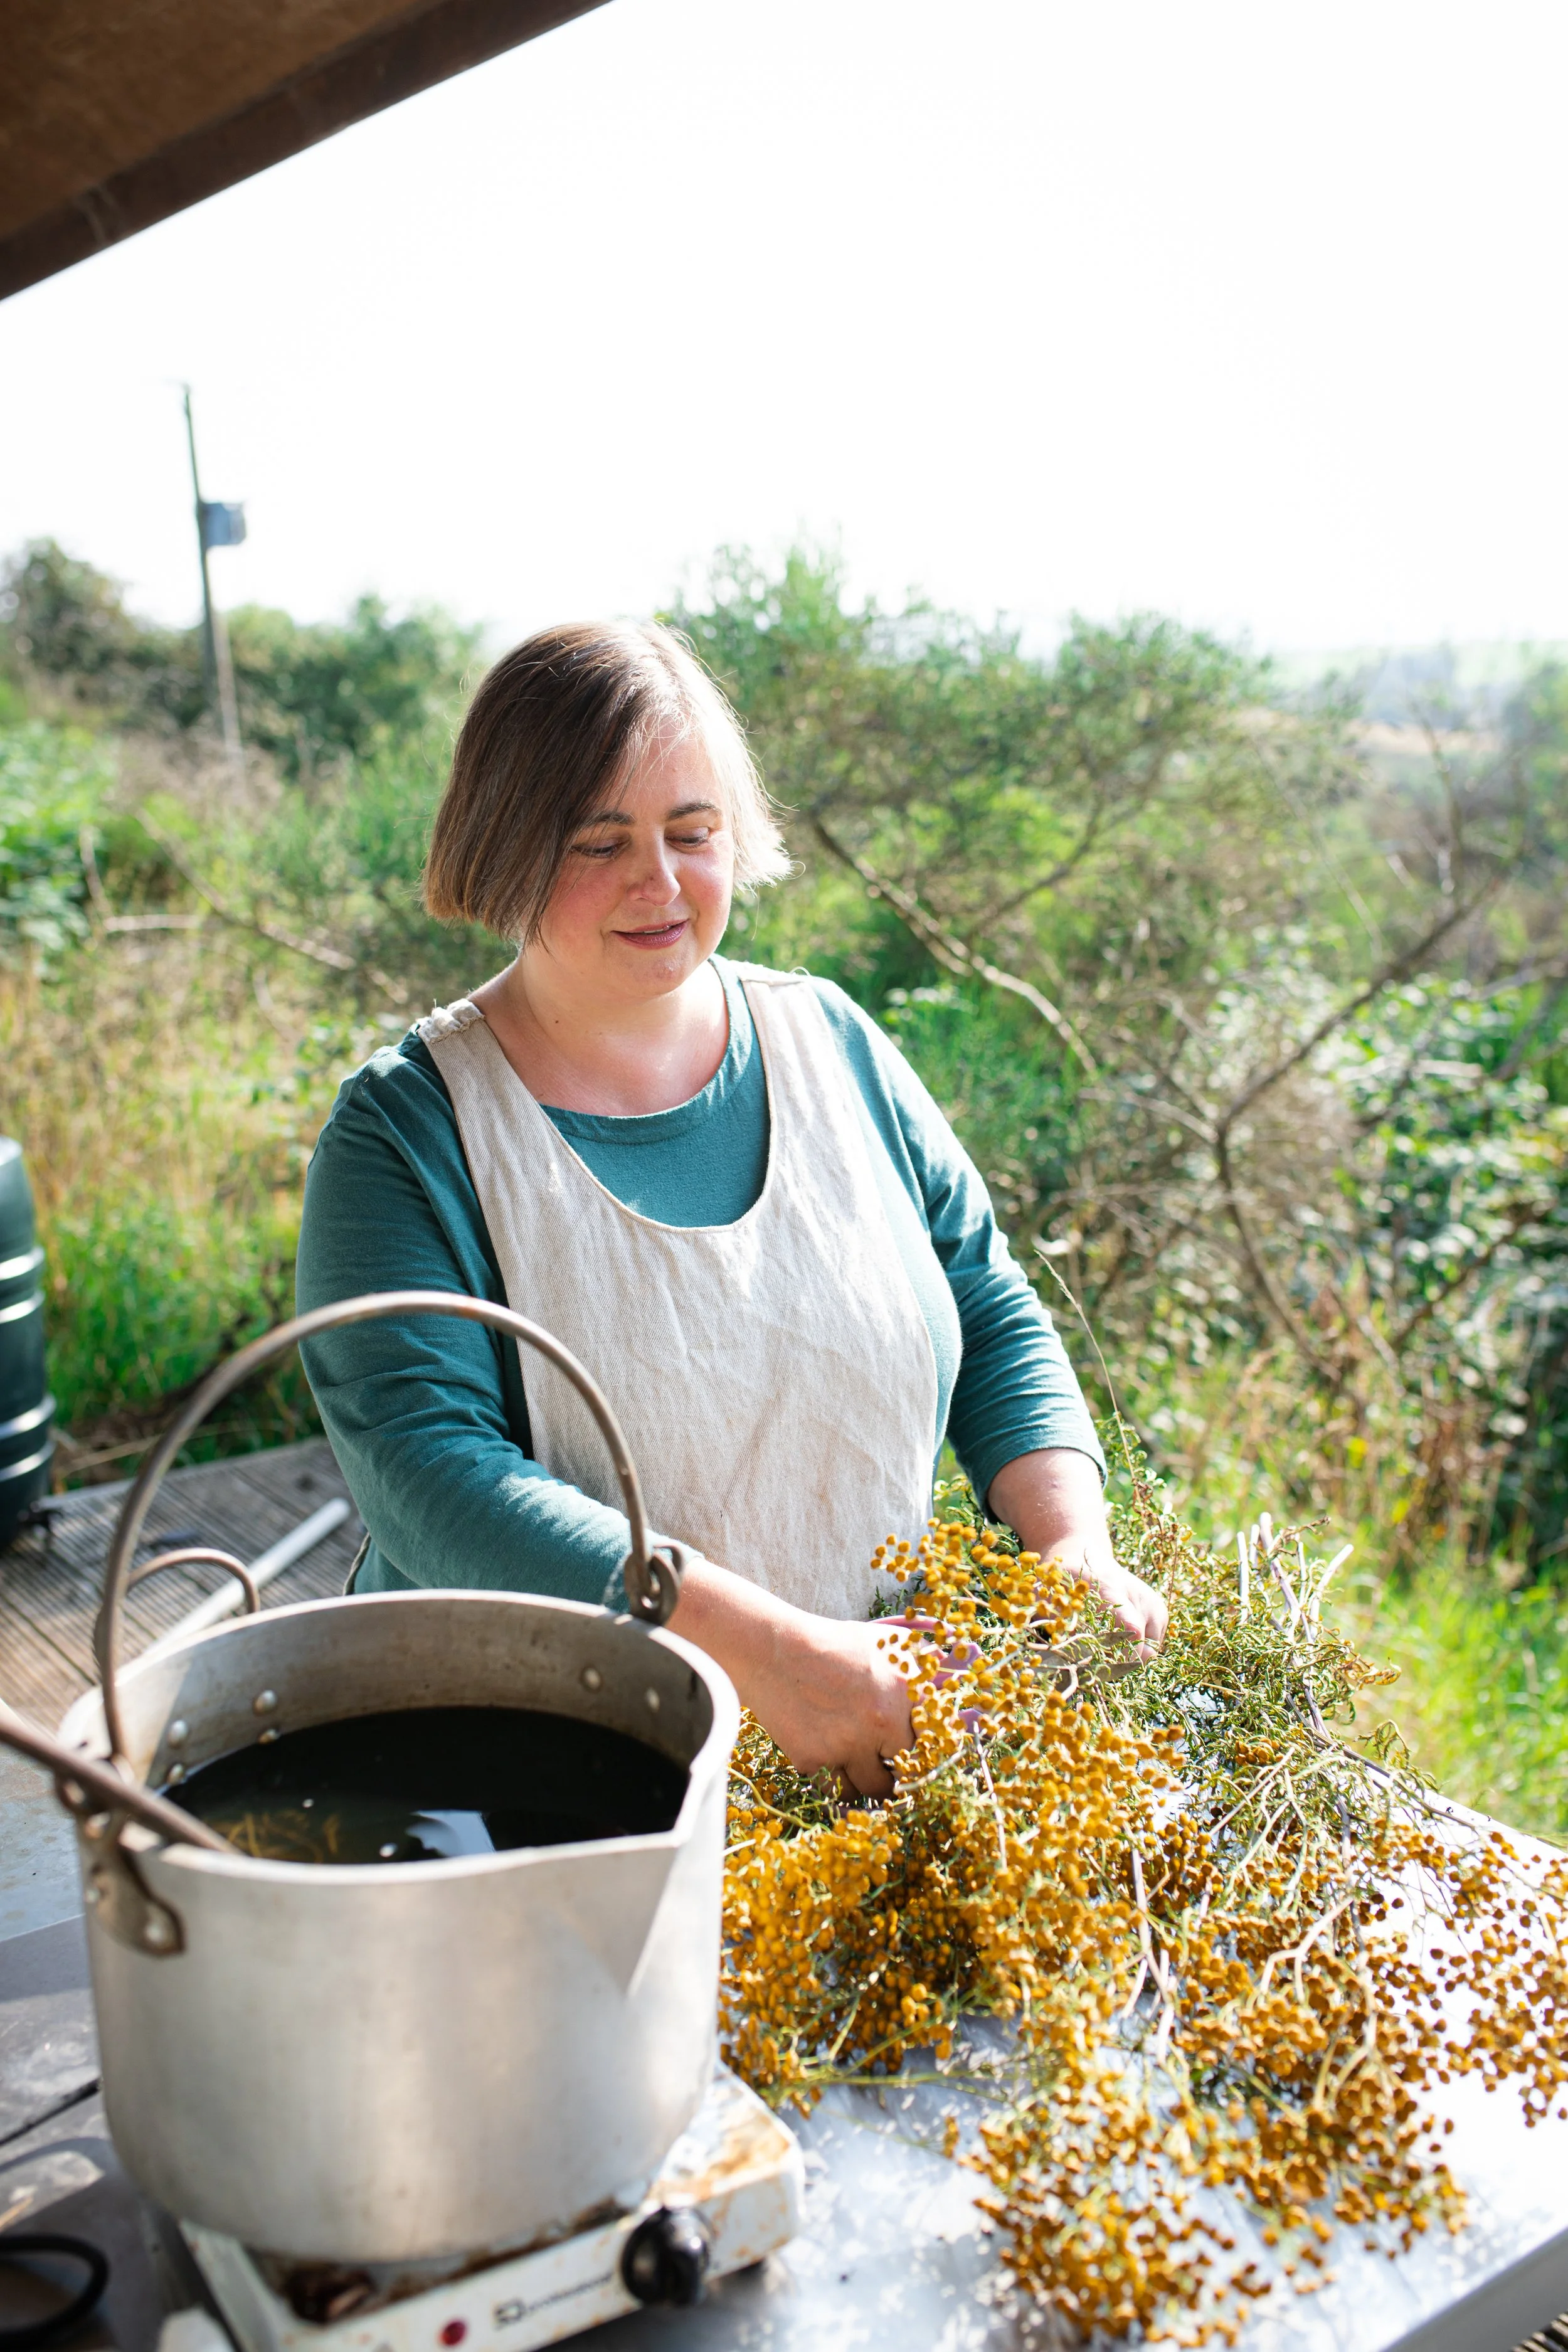
Put the onion skins in a pan of water and bring it up to a gentle simmer. Simmer the skins for 15 minutes and let them cool down naturally. The water should be a dark orangey brown.
Wash the socks and rinse well. Keep them damp.
When the water is cool, remove the onion skins - either with your hands or by draining through a colander.
There should be enough water to completely cover the socks, if there is too little add a bit more water and stir well.
Put the socks into the dye pan with the dye water and very gently heat it up. You do not want it to boil or you risk
felting your socks. Heat it up to a point where it is still comfortable to put your hand in. Turn the heat off, put a lid on the pan and leave it.
Check every now and again, give it a stir and make sure the socks stay under the liquid.
At this point you can either leave it in the pan or you can transfer the socks and some of the dye liquid into a large jar (a preserving jar is ideal) and put it on a sunny windowsill for a few weeks for the sun to help the dye process.
When you are happy with the colour (remember it will dry several shades lighter) remove your socks from the pan, gently rinse them to remove any loose pigment and leave them to dry.
Once completely dry, leave them somewhere dark for two weeks to cure - this will allow the dye particles to embed into the textile fibres.
Wash the socks gently with a pH neutral soap.
Naturally dyed textiles are often prone to fading in the sunshine - however you can layer up dyes by re-dyeing them to refresh the colour when needed.